DIY Pom Pom Garland

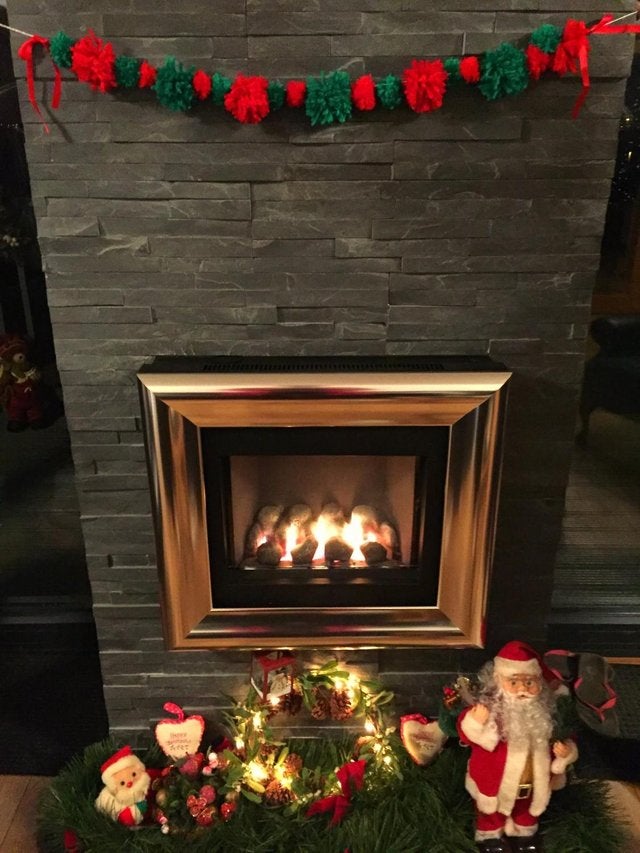
Christmas is nearly upon us and we hope that you’re as excited about the upcoming festivities as we are at Preloved HQ! We’ve been making more decorative Christmas crafts, and this week have put together this Christmas pom pom garland and step by step guide for you to enjoy!
• Green wool • Red wool • Fork • String • Red ribbon • A hair grip
Small pom poms

To make these cute little fluffy balls of wonder, you’ll need to start with a fork and your yarn of your choice.
1. First put the yarn in the middle of the fork prongs, then proceed to wrap the yarn around the first and third prongs.

2. Wrap the yarn around the fork until you have a sufficient mound of wool. (We wrapped the yarn around the fork about 25 times, but more or less than this is fine too!) Make sure at this stage that you don’t wrap too much wool around the fork, as it might fall off the end, making the next step difficult.
3. Once you feel you’ve wrapped the yarn around enough times, cut the end and tuck it into the wool.

4. Snip an extra length of wool and wrap it vertically around the wool on the fork. Tie it in a single knot to secure in place.
5. Take the wool off the fork and tie the securing length of yarn in a double knot.
6. Now take your scissors, and snip the edges to create a pom pom effect!
Large Pom Poms
Larger pom poms can be made using the same method, but by wrapping the yarn around your hand instead of a fork!
Assembling the garland:
Now for the fiddly bit!
1. Cut a piece of string the desired length of your garland.
2. Using a stretched out hairpin find the thread that goes vertically across the middle of the pom pom, and carefully push the string underneath and thread through.
3. Repeat on for each pom pom, spacing out the sizes and colours evenly.
4. Tie two pieces of ribbon into bows and put these at each end to finish off the beautiful garland.
Lastly, hang it as a Christmas decoration in your home. It will look amazing hanging across the fireplace!


