Photography Tips for Taking Better Photos When Selling Items Online
When you shop online, what draws you in to the item?
74% of adverts on Preloved include pictures, and those adverts with pictures are twice as likely to get a response!
Did you know that 90% of information transmitted to the brain is visual, and visuals areprocessed 60,000X faster in the brain than text? 67% of consumers say that the quality of a product image is “very important” in selecting and purchasing a product, and in an online store, customers think that
Now, we know that Preloved isn’t your average online store, but the fact that the items are second-hand makes uploading good quality images of the items all the more important.
For a handy infographic about photography tips and why good photo's matter, click here.
Step 1 - Keep a steady hand.

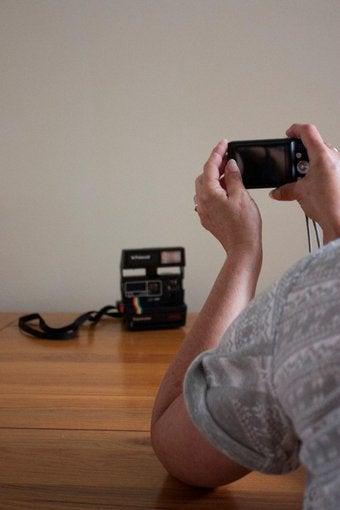
Use a tripod, or lean on a steady surface to make sure you don’t get any camera shake on your images. If this isn’t possible, it also helps to breathe in slowly as you take a picture. There is nothing worse than a blurry photo!
Step 2 - Daylight is key

Dark images don’t look good. Make sure your item is properly lit, preferably with daylight rather than indoor house lights, as they create a yellow cast. Try to take your pictures on a bright but slightly overcast day, as the clouds will diffuse the sunlight, getting rid of any harsh shadows and lens flare. It’s also best to avoid using flash, as it often causes reflections which don’t look great!
Step 3 - Avoid busy backgrounds.

If you have too much going on in the background of your photo, viewers will be distracted and the attention will be taken away from the item you’re trying to sell. Keep backgrounds to a minimum, if your item isn’t too big you can buy a couple of pieces of card to create a make-shift backdrop. Try to choose a colour that will compliment your item and make it stand out, taking a picture of a white vase against a white background won’t work. For larger items, brick walls or hedges usually work, but make sure to remove any pieces of litter or stray objects from the background.
Step 4 - What’s your best angle?
 Varied angles can make items look very different. Have a play around, take pictures from multiple angles and see which you think looks the most appealing. If you have a full membership you can upload multiple pictures, which means you can add images of the item from different angles. If you’re selling a piece of furniture, try to photograph it from straight ahead and also from a 45 degree angle. This helps demonstrate the size of the item.
Step 5 - Get up-close and personal.

Step 6 - Keep it clean!
Make sure you clean your item thoroughly before you photograph it. Buyers want to know that what they are purchasing is clean and well looked after, so polish any brass, wipe down any furniture, and get rid of any cobwebs from the attic!
Sally Lewis heads up the social media community for Preloved. She loves anything creative and has a background in photography and digital media. Her spare time is usually spent flicking through ELLE magazine, numerous fashion and beauty blogs and YouTube channels!

